

News
Black Friday Deals You Don't Want to Miss in 2024
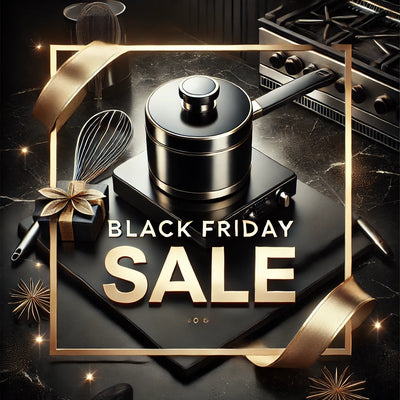
Get ready for our biggest sale of the year! This Black Friday, Blue Spatula is offering amazing deals on must-have kitchen essentials, and perfect gift ideas for the foodies in your life. From the popular Defrosting Tray to space-saving organizers, you’ll find everything you need to upgrade your kitchen at prices you won’t want to miss. Mark your calendar and get ready to shop the best deals of the season!

